How I Built My Own Form Autofill Extension (And Got 20,000 Users)
Hi! I'm a software developer, and I want to share a story of how I built my own Chrome Extension for autofilling forms. It started with pain... a lot of pain.
💡 The Pain That Sparked an Idea
At work, I was building features and fixing bugs — the usual dev life. But every time I needed to test something, I had to fill the same long form again and again.
First few times? Not a big deal. But after the 30th time in a day, I was ready to scream. Some days, I spent up to 2 hours just filling in forms. I wasn’t coding — I was copy-pasting like a robot.
That’s when I snapped: “Okay, enough. This has to stop.”
I thought about using Puppeteer. It seemed powerful. But every run opened a new tab or window, and setting it up every time was painful. Plus, it didn’t solve the problem inside my current tab.
So I searched for a Chrome Extension to help. I tested all the top-rated ones. But honestly? They were either:
- hard to configure
- had horrible UI
- or just didn’t work right
None of them felt like something I wanted to use every day. And if I didn’t like them, my teammates probably wouldn’t either.
So... I decided to build my own.
🛠️ Learning As I Go
There was just one small problem: I had zero experience building Chrome Extensions.
I started reading blog posts, docs, anything I could find. Slowly I began to understand how it all works: content scripts, popup, options, permissions... and the million other little pieces.
I chose Plasmo as my base (it's like Next.js, but for extensions). In 3 days, I hacked together a working prototype.
The UI? Ugly. But it worked.
At first, I tried to autofill forms by setting element.value. But that didn’t trigger updates in React apps. I needed a smarter way. After some digging, I learned this trick:
input.dispatchEvent(new Event('input', { bubbles: true }))
That tiny line fixed everything. Suddenly, the fields updated properly in React, Angular, Vue — anything.
But there were more challenges.
Some elements didn’t exist yet when the page loaded. For that, I used MutationObserver — it watches the DOM and fills new fields as they appear.
The wildest part? Custom select components. Many UI libraries render fake dropdowns using aria-controls, hidden inputs, or portals. I had to reverse-engineer several of them. It felt like detective work sometimes.
One night I was debugging why a dropdown wasn’t autofilling, only to realize it was rendered outside the main DOM tree. Took me hours. But I loved it.
🚀 Getting It Out There
Once the basic version worked, I created a website. I wanted it to feel clean, fast, and clear. So I worked on SEO from day one:
- 100/100 Lighthouse score
- Meta tags with keywords
- SEO-friendly FAQ section
- Chrome Web Store description with optimized text
- Added the site to every relevant directory I could find
I also shared the extension on Reddit, Indie Hackers, and a few dev communities. Nothing fancy — just honest posts with a small demo.
And slowly... people started using it.
Now I get:
- ~2,000 visitors/month to the website
- ~200 installs/day from Chrome Web Store
Around 30–40% uninstall quickly (they're usually looking for a generic form filler that works on any site without setup). But the rest stay — and many write to say thanks.
📈 Where It Is Now
Today, the extension is used by nearly 20,000 people.
It’s been amazing. I’ve learned so much — not just about coding, but also UX, SEO, and even customer support. I never expected strangers from different countries to write emails saying, “Hey, this saved me so much time.” But they do.
Next steps:
- Add more powerful features
- Make the UI better and smoother
- Launch a Pro plan with advanced options
- Expand to Firefox and maybe Safari
💭 Final Thoughts
This whole journey started with a simple frustration: I was tired of typing the same thing every day.
If you're a developer and something annoys you — maybe that's a sign. Maybe it’s your next side project.
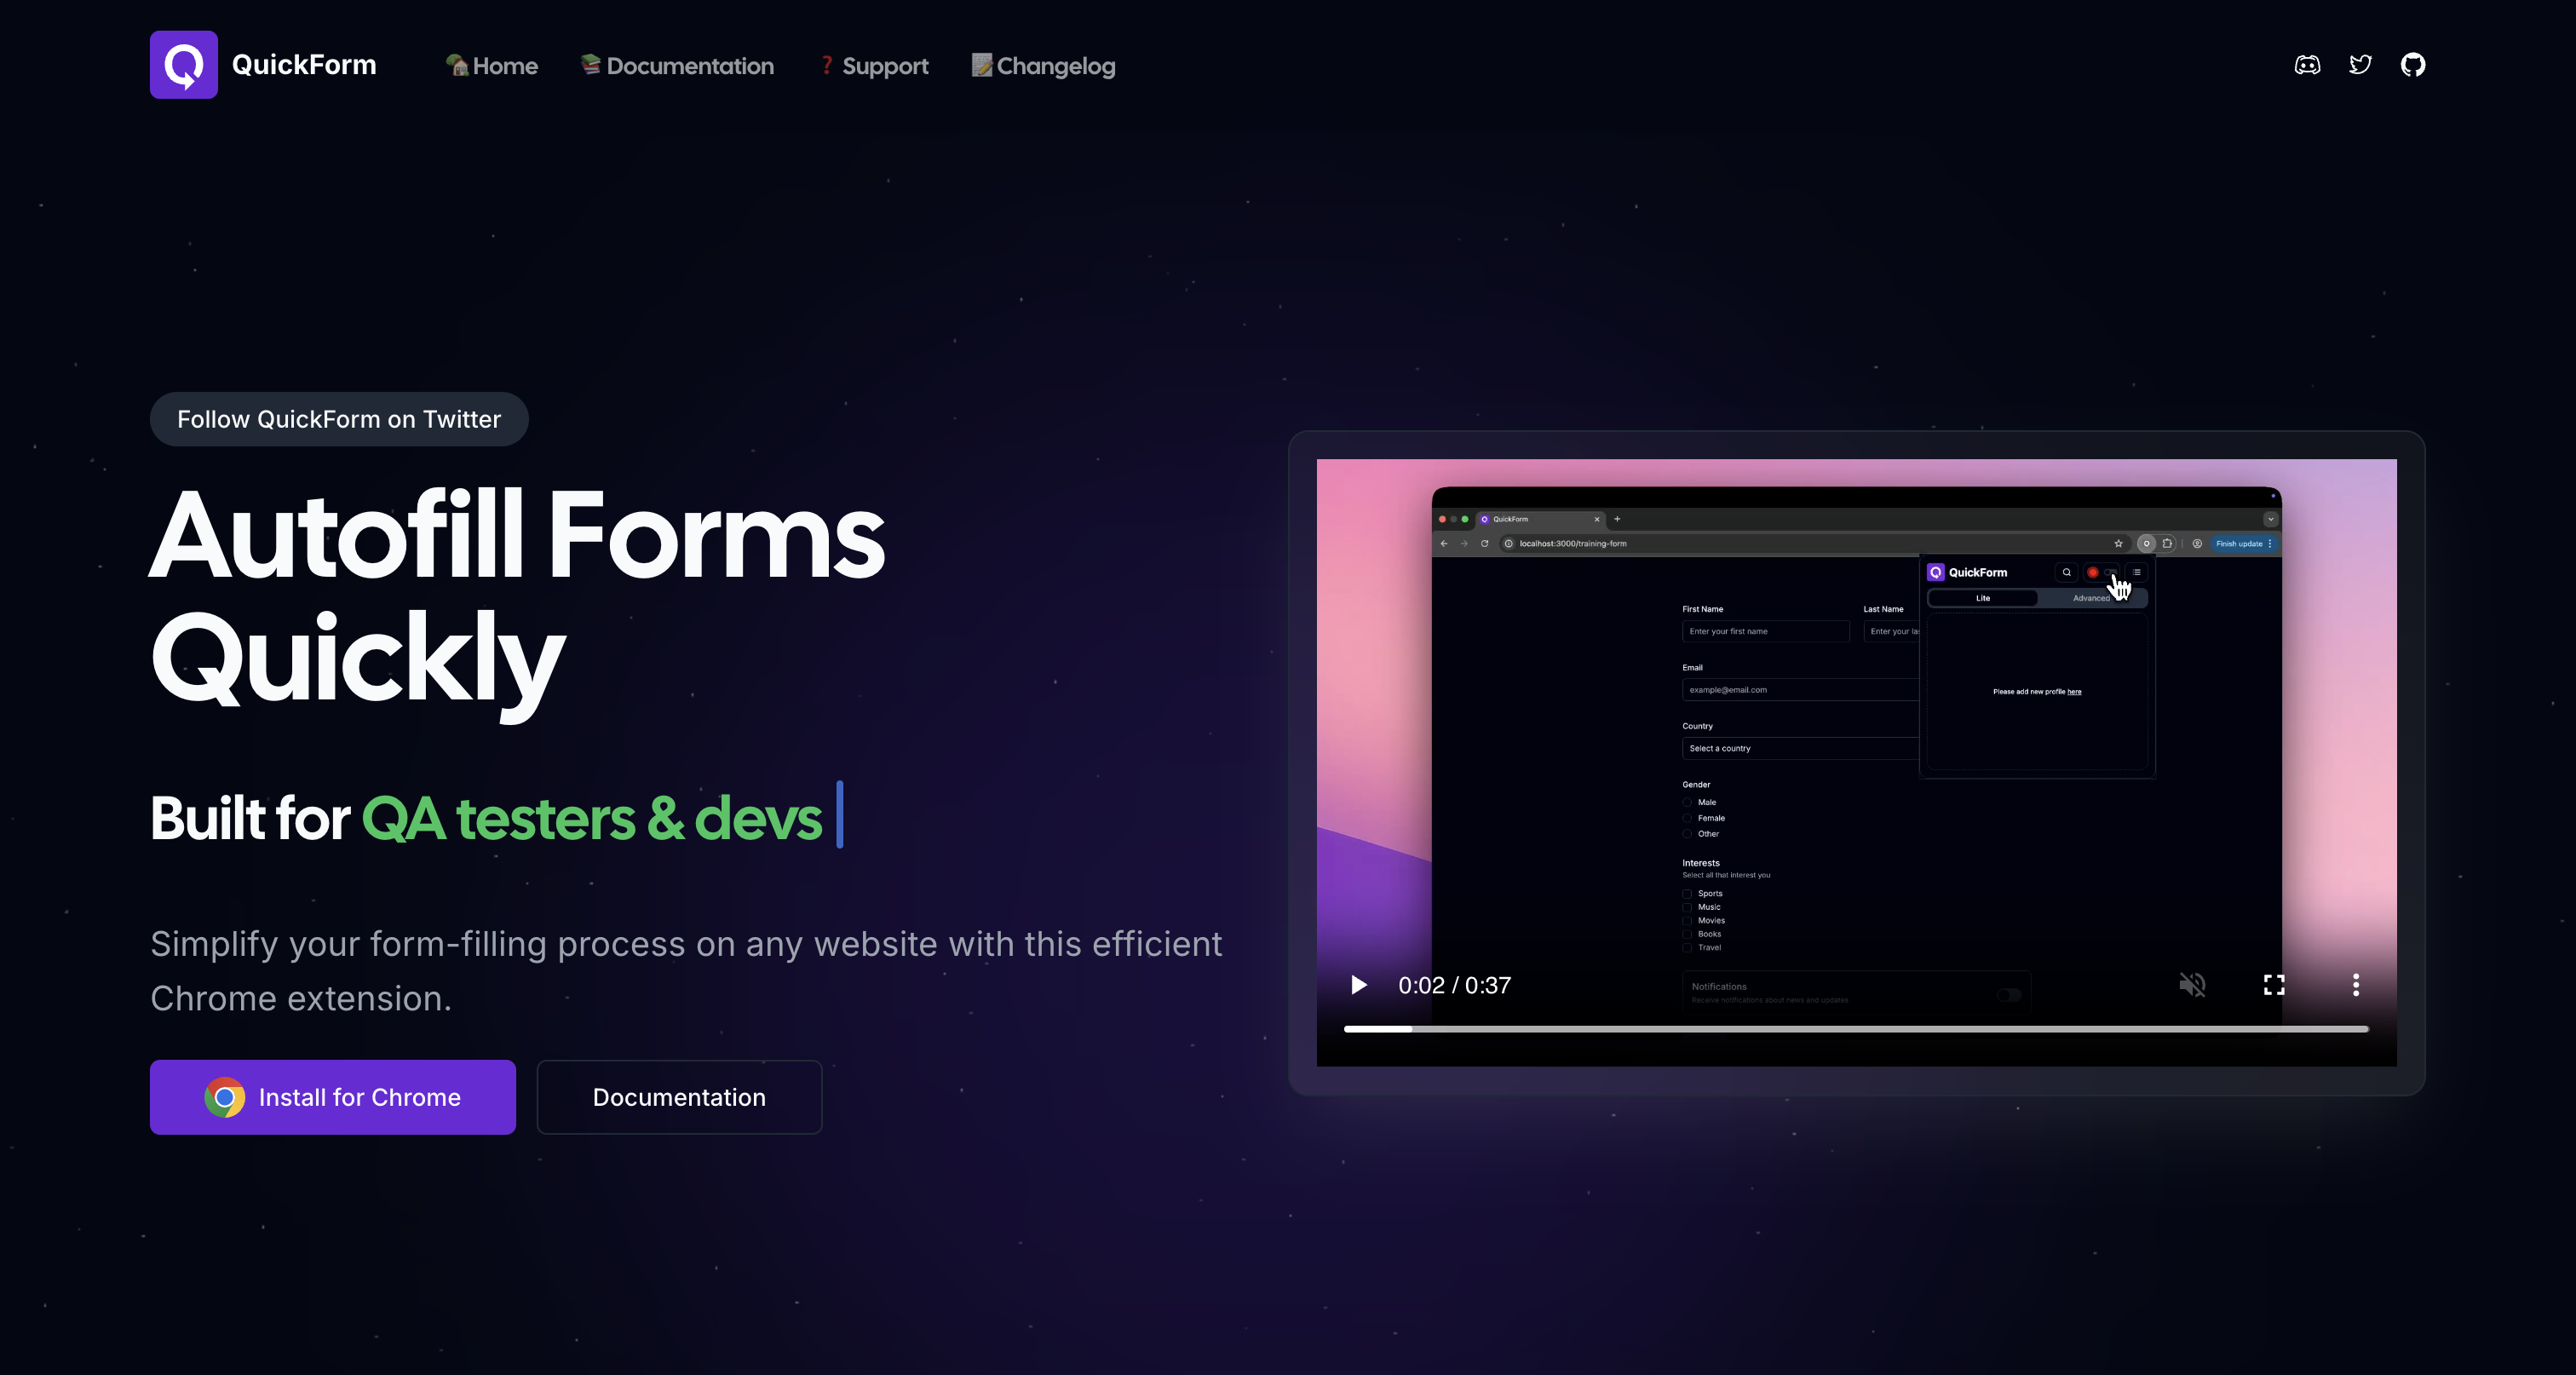
Thanks for reading! And if you want to try the tool, it’s called QuickForm.
Happy building. 🚀